
StyleSVG

Halftone Generator

Turn any photo or artwork into a classic dot screen with this free halftone generator. Pick the dot size, shape and screen angle, preview the result instantly and download it as a vector SVG, a 300 DPI PNG or a DXF for screen printing, DTF, laser engraving or comic-style art. Everything runs in your browser, so your image never leaves your device.

Drop an image here

PNG, JPG, WEBP or GIF · up to 25 MB · stays on your device

Choose image

Made in your browser. The image is never uploaded.

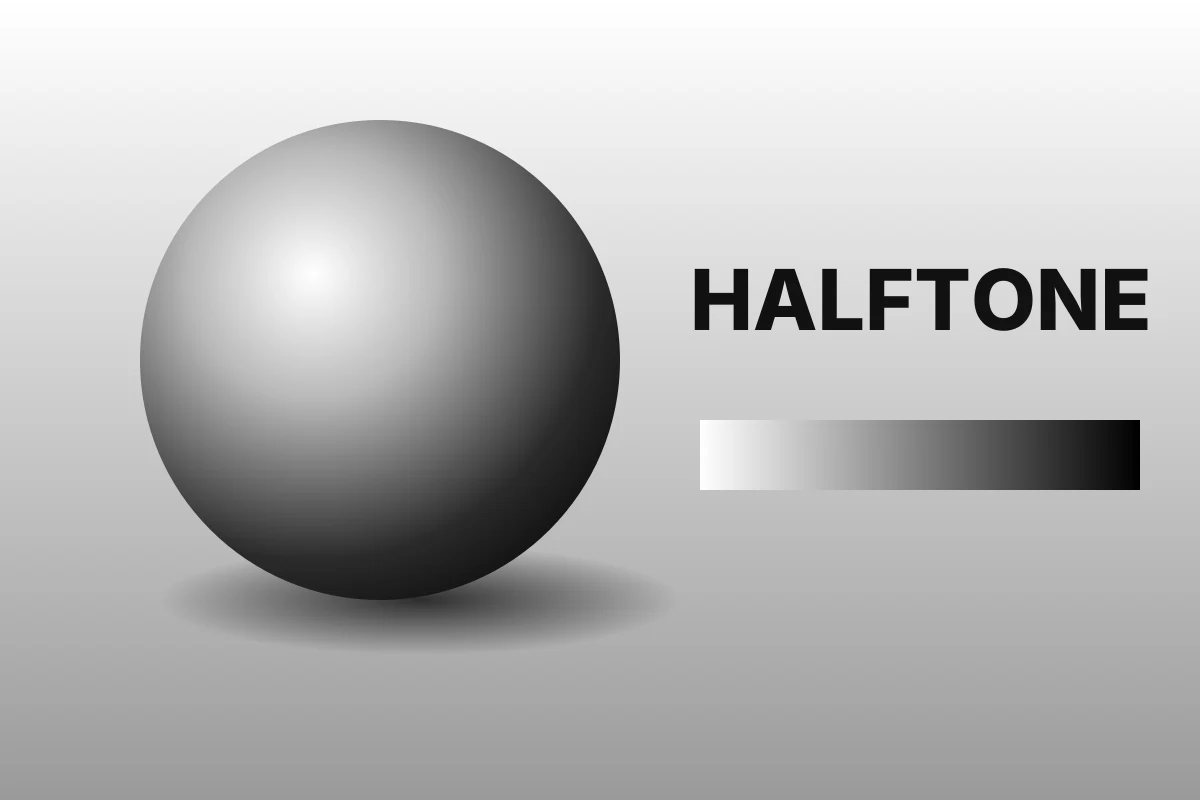
Greyscale picture of a shaded sphere, a grey ramp and the word HALFTONE
Before: a 1200 × 800 px greyscale image with smooth shading.
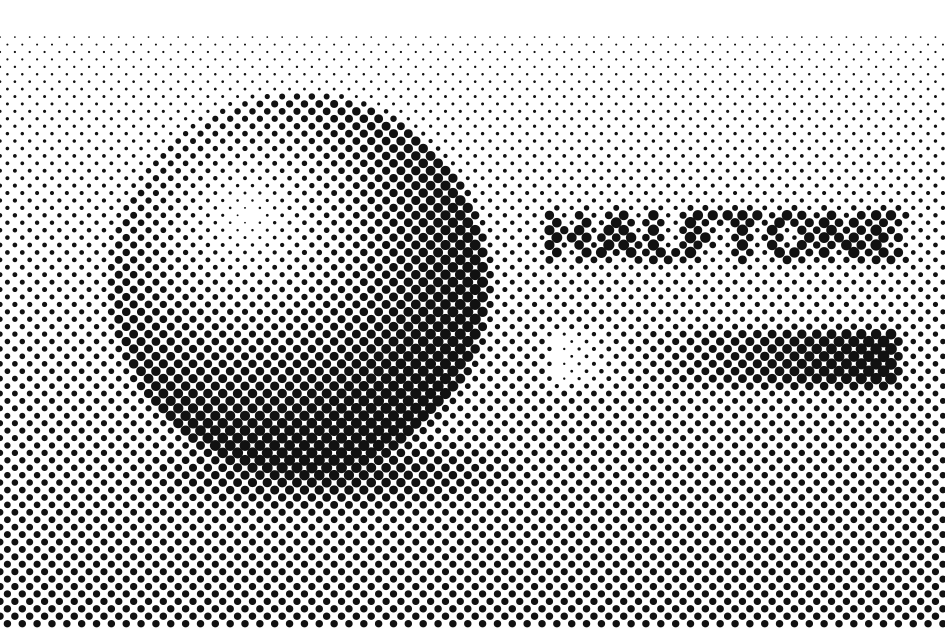
The same picture as round black dots at a 45° screen angle | halftone generator
After: 90 dots across at 45°, one vector circle per dot, sized 250 mm wide.

What Does a Halftone Generator Do?

Most printing methods put down ink or nothing, with no shades in between. A halftone fakes those shades with dots: big dots read as dark, small dots as light, and from a normal viewing distance the eye blends them into a smooth picture.

Shades from a single ink

A halftone generator breaks every grey tone into a grid of dots whose size follows the darkness underneath. One colour of ink, one screen or one laser pass can then reproduce a whole photograph, which is why newspapers, comics and T-shirt printers have used it for over a century.

Dot size, spacing and angle

Three settings in a halftone generator shape the look. Spacing sets how fine the screen is, usually given in lines per inch (LPI); shape decides whether the dots are round, square, diamond or continuous lines; and the angle turns the whole grid, with 45 degrees as the classic choice for one colour.

Halftone or posterized stencil?

A halftone keeps soft gradients such as skin, sky and shadows. If you would rather have a bold graphic with two or three flat tones and no dots, a posterized stencil is the better fit.

Image to stencil →

Why Use This Halftone Generator?

Making a halftone in design software means rasterizing, choosing filters and redoing it for every size change. Here you get a live preview and files that are ready for production in a few seconds.

True vector dots

This halftone generator writes an SVG with one shape per dot, so it scales cleanly to any size and opens in Illustrator, Inkscape, Cricut Design Space and screen printing RIP software. A DXF with the same dots goes straight into LightBurn, xTool Creative Space or CNC programs, and a 300 DPI PNG is there for DTF transfers and printers.

Print-aware settings

Set the print width in millimetres and the halftone generator shows the resulting LPI, so you can match your mesh count or press. Drop the smallest dots that a screen cannot hold, push contrast and brightness, invert for light ink on dark shirts and pick any dot colour with a transparent or white background.

Free, private and instant

There is no sign-up, watermark or daily limit. The image is processed on your own computer or phone, nothing is uploaded, and every change redraws the preview straight away.

How to Make a Halftone in 3 Steps

With the halftone generator, going from picture to print-ready file usually takes less than a minute.

1

Open your image

Drop a PNG, JPG, WEBP or GIF of up to 25 MB. Colour pictures are converted to grey tones automatically, and transparent areas stay empty.

2

Tune the dots

Set the lines per inch (LPI) and the real print width, then choose the dot shape and screen angle. Adjust contrast and brightness until the preview holds detail in both the highlights and the shadows.

3

Download SVG, PNG or DXF

Download the vector SVG for cutting and print software, the PNG at 300 DPI for DTF and printers, or the DXF for laser and CNC. Each file keeps the print width you entered.

Tips for Halftones That Print Well

A few habits from screen printers and laser engravers help you get crisp dots instead of muddy patches from any halftone generator.

Match LPI to your process

Screen printing on fabric usually works between 35 and 65 LPI, DTF transfers between 30 and 55, and laser engraving on wood around 20 to 40. Finer screens look smoother but need better mesh, film and exposure to hold the small dots.

Change the colour later if you need to

Pick the dot colour before downloading, or open the SVG afterwards and recolour every dot in one go. That makes it easy to try a few ink colours on a mock-up.

Change SVG color →

Keep big files manageable

A fine screen across a large print can contain tens of thousands of dots. Fewer dots across keeps the SVG small; you can also shrink the file further without changing how it looks.

SVG optimizer →

Halftone Generator FAQ

Ready to make your halftone?

Choose an image