
A white border
The border hides small cutting errors, so the blade never slices into the artwork, and it makes the design stand out on a laptop, bottle or notebook.
Add a sticker outline to your artwork in seconds. Drop in a PNG, JPG or WebP and the tool finds the design, grows a white border of the width you choose and traces one smooth cut line around it. Download a sticker PNG for Cricut Print Then Cut, a print-and-cut SVG, or the cut line on its own as SVG or DXF. Everything runs in your browser.
Drop an image to make a sticker
PNG, JPG, WebP or GIF · up to 25 MB · transparent PNG works best
Processed in your browser. Nothing is uploaded.

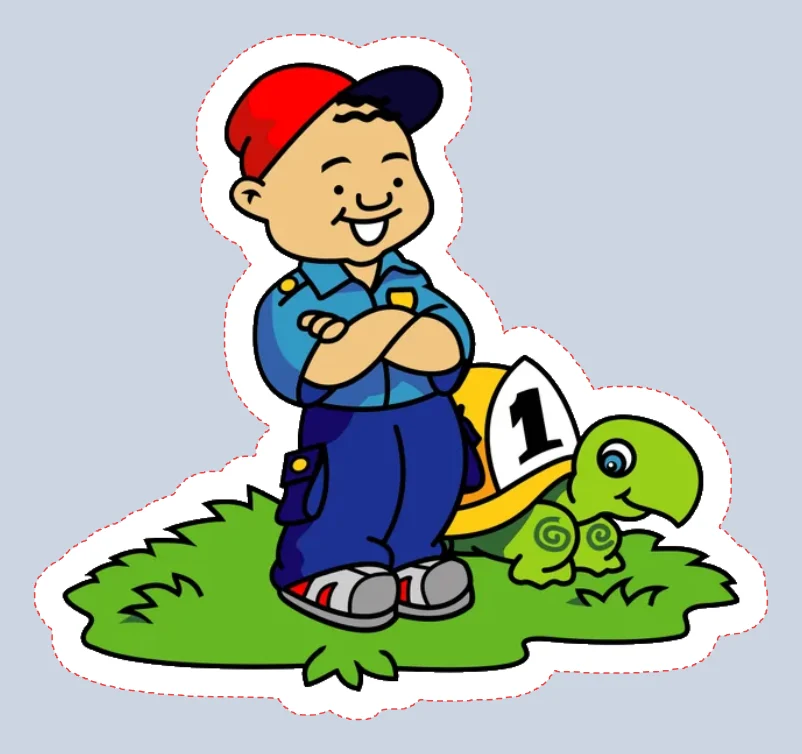
A die-cut sticker follows the shape of its design instead of a rectangle. The outline is the white margin around the artwork and the line the blade follows.
The border hides small cutting errors, so the blade never slices into the artwork, and it makes the design stand out on a laptop, bottle or notebook.
Cutting machines work best on gentle curves. The line is traced from the border and smoothed, so there are no pixel steps or tiny notches for the blade to catch on.
Transparent PNGs are used as they are. On a plain background the tool removes the background by colour. For a blurry logo, trace it into a clean vector with our PNG to SVG converter first.
PNG to SVG converter →Drawing an offset path by hand takes several steps in a design app. Here it is one slider.
Set the finished sticker width and the border in millimetres or inches. The border is measured with a true distance map, so it is the same thickness all the way round, corners included.
By default gaps inside the design are filled so the sticker comes off the sheet in one piece. Untick it to cut out holes, for lettering or a ring. Parts far apart become separate stickers.
The PNG goes straight into Cricut Design Space. The print-and-cut SVG holds picture and cut line together for other software, and the DXF cut line suits Silhouette, vinyl plotters and lasers.
From image to cut-ready sticker in under a minute.
Drop a PNG, JPG, WebP or GIF into the box above. A transparent background works best; on a plain colour, adjust the background tolerance until only the design is kept.
Enter the sticker width and the border width, choose one piece or holes, and pick the border colour. The red dashed line shows exactly where the blade will cut.
Download the sticker PNG and upload it to Design Space as a Print Then Cut image, or use the SVG or DXF in your own cutting software.
A few settings make the difference between a sticker that peels cleanly and one that tears.
About 3 mm (1/8 in) is a good start. Narrower borders show any misalignment of the print; wider ones look chunky on small stickers.
A QR code or a short word makes a useful sticker for packaging and labels. Create the code, save it as a PNG and give it an outline here.
QR code SVG →Soft shadows and fuzzy edges make a lumpy cut line. A traced vector with flat colours gives the smoothest outline, and a transparent PNG avoids background guessing.
Vectorize an image →