Traces the picture into thread colours
Pixels become a handful of flat shapes, one per thread. The embroidery preset keeps up to six colours and removes the background, because every extra colour means another thread change at the machine.
Go from image to embroidery file without learning digitizing software. Upload a logo, drawing or clip art and our AI traces it into a few flat thread colours, then the stitches are laid out automatically: fills, narrow columns, running lines and underlay. Check the stitch preview, set the size for your hoop and download PES, DST, JEF, EXP or VP3. Already have an SVG? Switch tabs and convert it free.
The traced result as it is. You can adjust everything afterwards.
Drop your image here
PNG, JPG, WEBP or GIF · up to 25 MB · one free preview a day, no signup
Signed in? Pick up to 20 images at once.
The embroidery preset is on. After unlocking, click Embroidery file to download PES, DST, JEF, EXP or VP3.
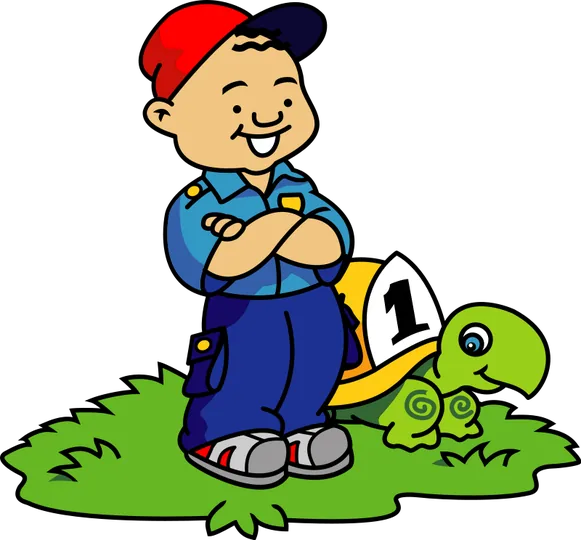
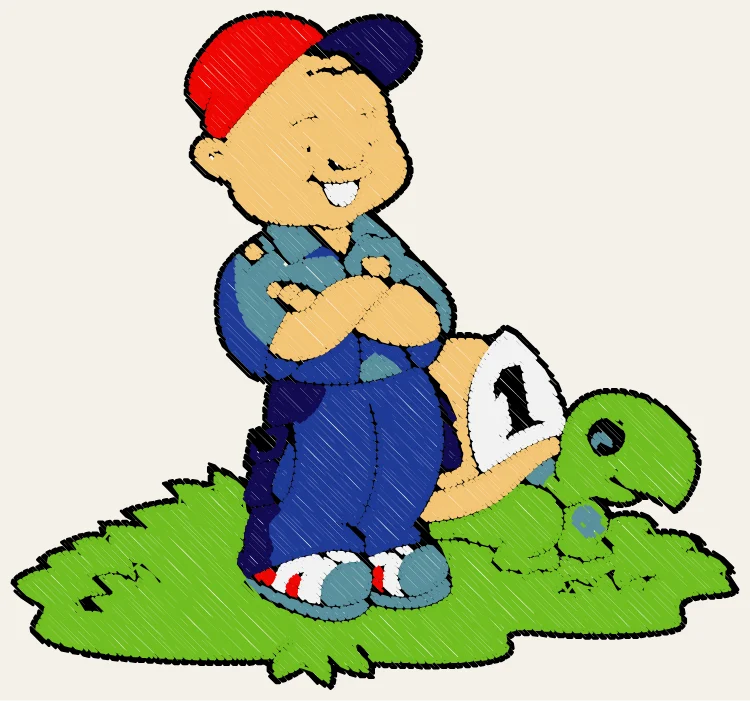
An embroidery machine cannot read a picture. It needs a stitch file that says where every needle drop goes, in which order and in which thread colour. Making that file is called digitizing.
Pixels become a handful of flat shapes, one per thread. The embroidery preset keeps up to six colours and removes the background, because every extra colour means another thread change at the machine.
Wide areas get a fill of staggered stitches at 45 degrees, narrow parts get one stitch per row like a satin column, and thin lines become running stitches. Each area starts with an underlay and is pulled slightly wider so neighbours meet after the fabric shrinks.
The stitches are saved in the format your machine reads, with tie-in and tie-off stitches, trims between separate areas and one colour stop per thread. To keep editing the shapes instead, download the SVG and open it in our free SVG editor.
SVG editor →Professional digitizing software takes weeks to learn and paid digitizing takes days. For logos, patches and simple artwork, an automatic image to embroidery file is often all you need.
PES for Brother and Baby Lock, DST for Tajima and most commercial machines, JEF for Janome, EXP for Melco and Bernina and VP3 for Husqvarna Viking and Pfaff. The files are written byte for byte the way the open-source pyembroidery library writes them.
Embroidery file converter →The preview draws every stitch in its thread colour, with the stitch count, the number of colours and an estimated sewing time. It also names the smallest common hoop the design fits.
If your artwork is already a vector, nothing has to be traced: drop the SVG in the second tab and the stitch file is made in your browser, free and without uploading anything.
From a PNG or JPG to a file on your machine's USB stick takes a couple of minutes.
Drop a PNG, JPG, WEBP or GIF into the box above. The embroidery preset is already selected: background removed, up to six colours, clean closed shapes.
Compare the traced shapes with your original, merge or recolour anything that should share a thread, then unlock the result to download it.
See pricing →Set the width, check the stitch preview and hoop size, and download PES, DST, JEF, EXP or VP3. Your SVG, PNG, PDF and EPS downloads are included as well.
Automatic digitizing works best when the artwork is simple. A few minutes of preparation saves thread and a lot of unpicking.
Every colour is a thread change and every tiny island is a trim. Merge similar shades into one thread, and delete specks smaller than a grain of rice before you convert.
Change SVG color →Letters under about 5 mm (0.2 in) tall lose their shape in thread. Remove small taglines from the artwork, or set the words in your machine's built-in fonts afterwards.
Stitch density does not change when a machine enlarges a design, so a file scaled up by more than about 20% looks thin. Pick the final width here and make a new file for each size.